Monday, February 28, 2011

Fresh Flowers

Just as expected, In summer they bloomed and as Autumn arrives my Zinnias were picked for the Kitchen. 


Ooops. . .I really should have taken a photo before I cut the best of them out of the garden. . .
This lot I'll seed save, so I can sow again next spring.  I'm not sure how they'll go? Bit old do you think? I'll plant them anyway when the time comes and we'll see what happens. Just to be on the safe side, I think I'll save a few seeds from this seasons too. . .

 This is actually a little milestone post for me today, These Zinnia's, now in my kitchen were just seedlings in one of my first posts when I started this blog....
That puts a really big smile on my face, it makes me feel like I've been really productive...
YES! I have achieved what I set out to do!  :)

Monday, February 21, 2011

Yesterday's Tomatoes. . .

Before you ask. . . No, they are NOT from my garden but I did pick them up for a bargain!  $2 actually!!
 I remember my mother always bringing home reduced boxes of half rotten fruit and making us
Fruit Salad....I swore I would never do that to my children, but here I am, now buying bargain boxes from the throwout table at the fruit and veggie shop.
 Lets get Cooking . . .
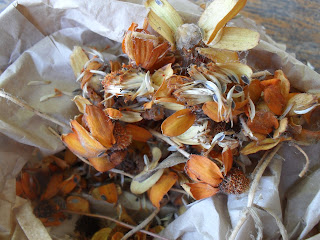
One of my Christmas presents this year was a food dehydrator (purchased for myself from SANTA) so this is the first time I get to use it. Great device but it sounds like a hairdryer going for about 8 - 12 hours so I stuck it up in the shed for the night to do it's work, and work it did!
Mmmm . . . I call these "Dehydrated Semidried Tomatoes" bottled in extra virgin olive oil.
Then I made Tomato Relish, but I have to say this recipe is more like a Chutney 
What's the difference?  Apparently chutneys have a chunky spreadable consistency much like a preserve, where as relishes are hardly cooked, use less sugar if any, and are more crunchy to the bite. 
Tomato Chutney
1 1/2 kg tomatoes
500gm onions
2 cups sugar
1/4 cup salt
1 cup white vinegar
2 tabs cornflour
2 teas curry powder

Skin tomatoes and chop roughly
Peel onions and chop finely
Place in a large saucepan and add salt, sugar and vinegar and bring to the boil until tender and sauce reduces slightly, approx 1 1/2 hours
Blend cornflour and curry powder with a little vinegar to make a paste then add. 
Cook until mixture thickens, if mixture is too thin add a little more cornflour or if too thick add little extra vinegar.  Will also thicken when cool. Water bath to seal and store in dark cupboard until ready to use.
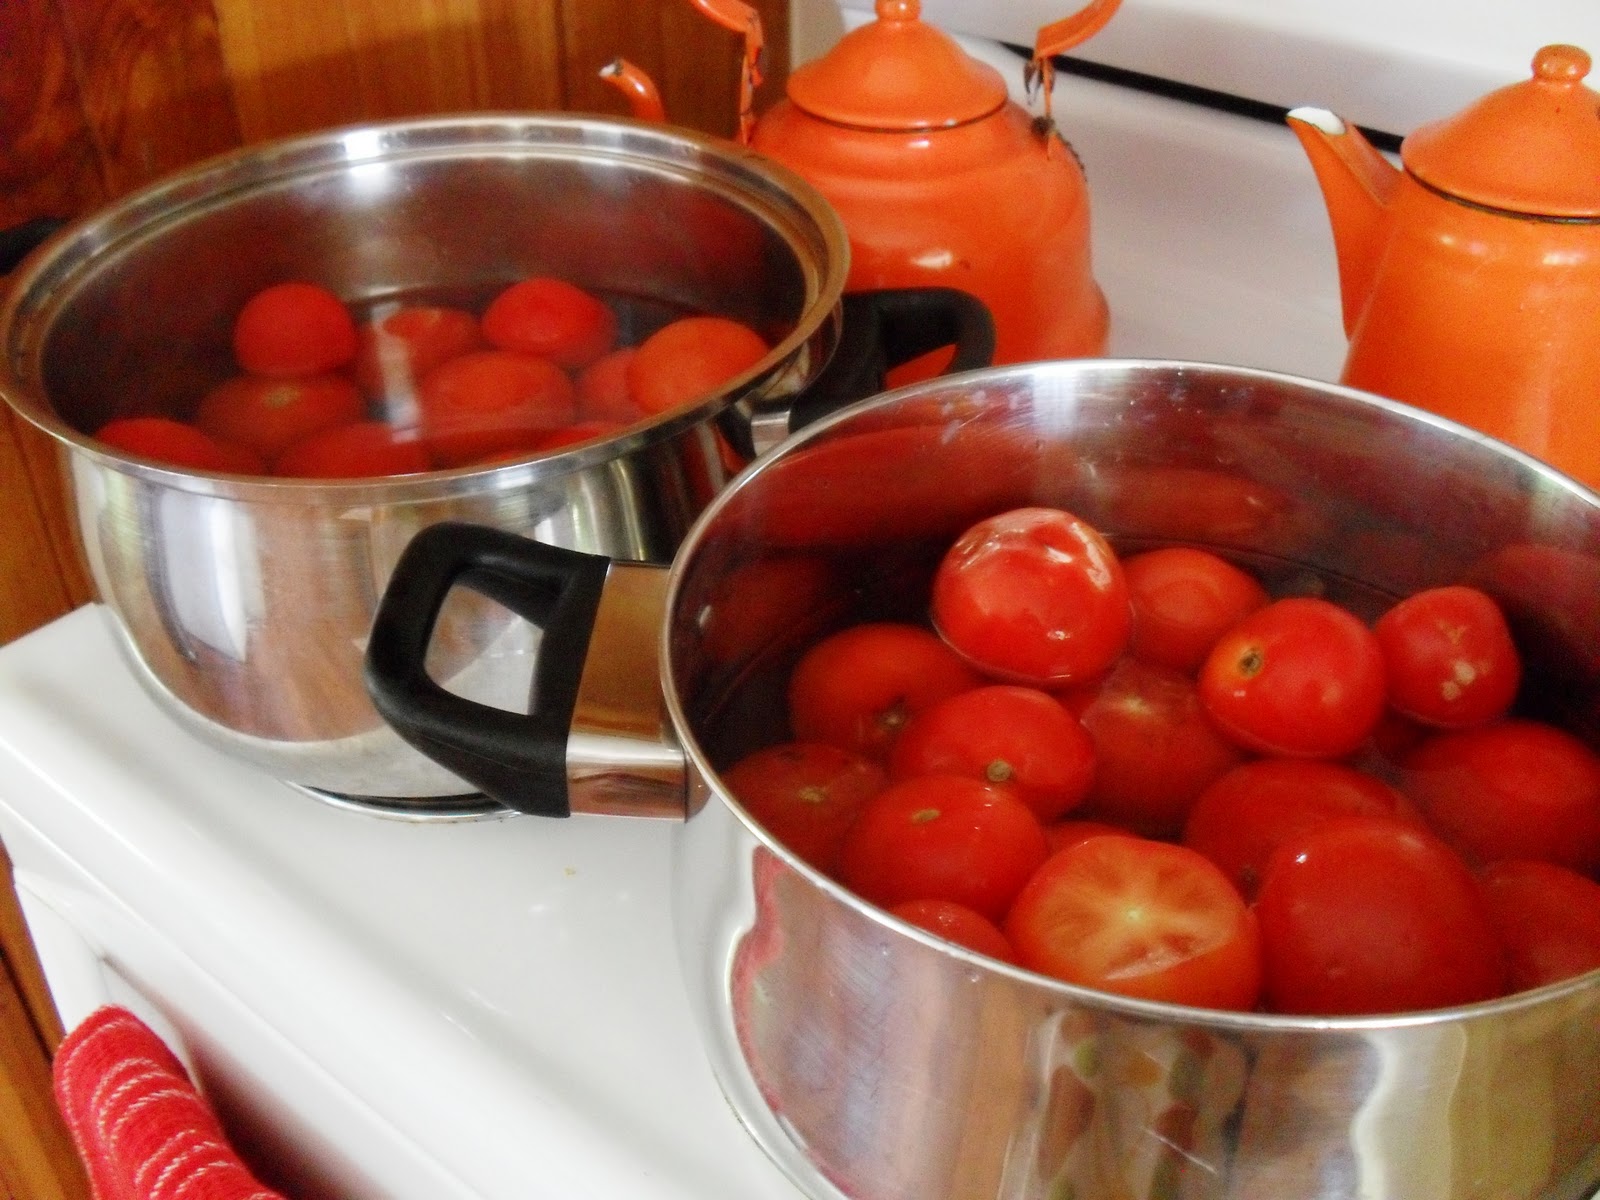
and then I was over it . . .
the rest of the tomatoes got blanched, peeled and frozen for adding to recipes at a later date. 

And thats what I did with yesterday's tomatoes TODAY...

Saturday, February 19, 2011

Back in the Garden

It seems like ages since I've been out in the garden, with all the rain we had over December and January I lost a lot of my veggies and herbs (that were really almost at the end of their season anyway) and with all the hot weather that has followed I've not wanted to even be outside.  I've been a bit slack...But it has all changed today. Thanks as always to all those lovely  bloggers and their inspiring gardens I picked up my shovel, put on my hat and ventured out into the veggie patch once again.  I  ripped out the last of what was left and dug, and mixed and mulched and then I planted.
 
I  decide that this time round I would raise most of my seed to seedlings before I plant them in the ground.  I have seen the newspaper roll seedling pots around on a many blogs now and thought I might try this method. It was actually quite a fun activity for the whole family. . . .
 
 I had (whilst been hiding inside on these hot days) done a small amount of research into how I was going to plant this season..I stumbled across this great website Gardenate it is a very easy to read site about planting seasons and the best part about it is that you can subscribe to receive a reminder for what to plant each month...I think this will work for me!  No more digging around the garden books looking for planting guides, this means more time out in the garden for me. . .          

 
   Today with the help of my little diggers we planted Egg plant, Cucumber, Climbing beans, Carrots, Cos, and Silver beet, and my favourite herbs, Parsley and Basil.  Hope these were all on the planting list??? I wish my garden was bigger so I could plant more.. . I noticed on the seed packets today that they recommend you plant every week or fortnightly intervals for a succession of crops. That would be the ideal self sufficient way, perhaps when my littlies grow a little more I may have a bit more time to focus on some planting structure (and digging a larger garden) but for now I'll be happy if I get a salad or two for the family out this lot. . .

Tuesday, February 15, 2011

Would you like cheese with that?

 
I found this Really Cool Cheese Grater recently at an Antique store, I don't usually buy from Antique stores as I much prefer the thrill of the bargain when I find something old and junky or old and useful, at markets or second hand stores. . . but when I saw this I just had to have it. I have a thing for cheese graters, I have several of them on display in my kitchen and plenty more stashed away for the day when my kitchen might just magically double in size!!!   I have noticed with my purchases of kitchen collections over the years just exactly why some utensils have become extinct and I have found others to be very practical indeed.  This is one of them. Best grater I have ever used.  It attaches to the bench like an old meat mincer, and works on the same concept. Turn the handle and out come grated cheese...no more grating off the edges of my fingers which I have done on many occasions in an attempt to grate large heavy chunks of cheddar.


 Tonight it was Pizza on the menu.
 Homemade pizza dough of course...
Voila!!!   Pepperoni Pizza!!! with stacks of cheese!!!

Monday, February 7, 2011

Gone nuts...

 We have a HUGE Macadamia nut tree on our property...  We used to have two but one was removed to make way for bigger and better things....(more info on that another day) These little nuts are pretty expensive in the market so it’s quite a treat to have our very own tree in the backyard... The nuts mature on the trees and drop to the ground when they are ripe and ready...It seems as though they have taken forever to ripen this season and my little gatherers have been getting impatient.  But today we found our treasure, a recent small storm had finally blown a few to the ground. Once they were spotted they were quickly collected and the Nut Smashing commenced.  Ever tried to crack one of these nuts??? They are perfectly round and  have a very, very hard shell. There is quite a trick to placing the nut and hitting down straight and hard with a hammer to make a break in the shell, but without completely smashing it smithereens.....The girls got stacks of enjoyment just chasing around the nuts that went flying off the edge of the hammer. The ones we managed to crack were just perfect! 


Mmmm yummy fresh nuts... personally I prefer them roasted and salted but as usual in this place, nothing ever quite lasts that long.
They are eaten up before the roasting pan is even taken out of the cupboard.

Thursday, February 3, 2011

The Oven is On


With the big kids back at school and the new year well on it's way I've finally found some time to get  back into the kitchen.  When I bake, I BAKE...This week it was Date Loaf.  A favourite for everybody, and it doesn't last long around here. I like to think that it's a relatively healthy snack so it's great for lunchboxes. This recipe freezes very well, so I make a few at a time, freeze them and then slice them up fresh when needed!     

 
Date Loaf
1  cup chopped dates
1/2 cup brown sugar
2 tabs butter
1 teasp baking soda
1 cup boiling water
1 egg
3/4 cup sr flour
3/4 cup plain flour                      


Place dates, sugar, butter and baking soda in a bowl
Pour boiling water over and mix well together
Allow to stands until almost cold
Add the beaten egg
Sift dry ingredients together and add gradually, Mix well
Pour into greased and floured bar tin
bake in slow to moderate oven for approx 40 minutes
Serve sliced with butter
Related Posts Plugin for WordPress, Blogger...